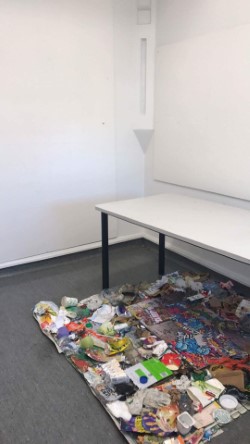
The first step of installation, was clearing and removing all furniture and art works from our studios. I then started to place my formations on the ground before hanging to imagine the exhibit before hanging.
The next step was to start hanging all my works in formations that show off the best attributes the artworks have. This will ensure my viewers understand my exhibit and can walk through the works while also understanding them.
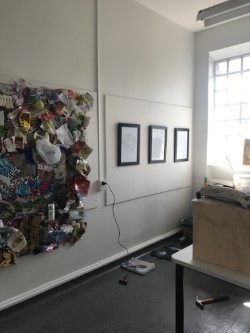
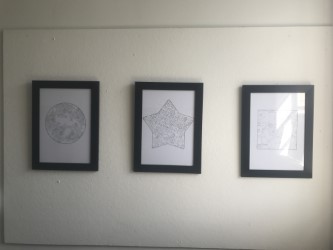
My next step was to start formatting my prints/patterns. Originally I hung them unframed to see how the light would play next to the window. The light did nothing but hit the prints and bounce off a yellow tinged light that made my prints look as though I had spilt tea on them. I then decided to buy frames and frame then, in order for the light to bounce bak off. This worked successfully.
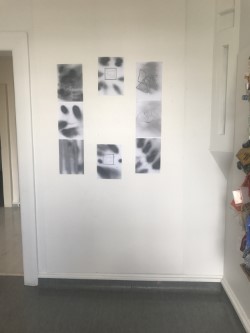
The next installation to hang were my ‘Shuffle” prints I had created at the start of the semester (semester 2 2017). These were tricky to hang as I couldn’t decide on a correct formation. I played around for a couple days. Experimenting with different hanging positions and first off felt like this was the best way to place the prints. I had also attached my hanging piece to the side of the installation to keep the ‘Shuffle’ works together.
The next day, I returned to uni and though these looks really off and decreased the value of my exhibit. I then found an old foam black board and placed one of the prints in the centre. This added a lift to the whole ‘Shuffle’ piece.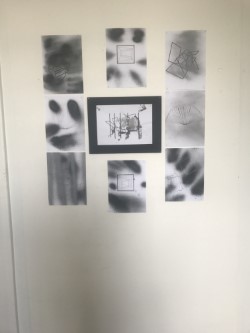
I then elevated the middle section by hanging it just off the wall. Sticking out by about two cm. This added a pop to the section of the wall and also elevated the word ‘Shuffle’ once again.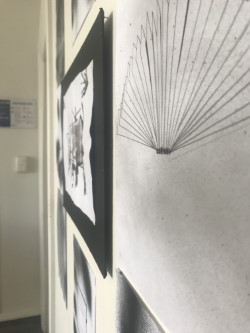
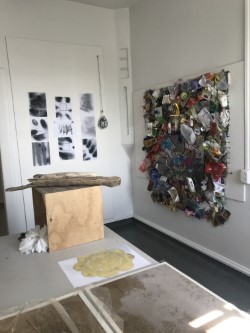
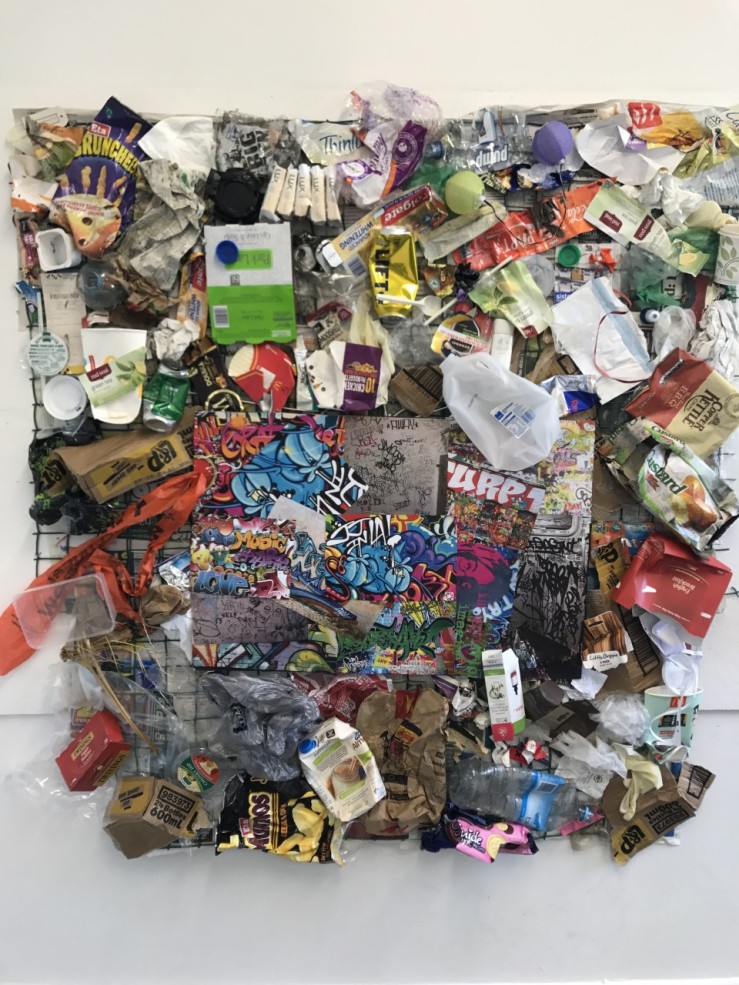
The next to hang was my ‘ Urban Chaos’ rubbish tapestry. This section for me was the scariest. The backing is made out of newspaper and I was worried that it wouldn’t hold. Seeing as I was the only one in the building I had to also hang this by myself and straight! It became a massive task. But after hamming the top nail in the centre and rushing around nailing the rest, it has managed to hold and maintain its shape. I was very relieved with this.
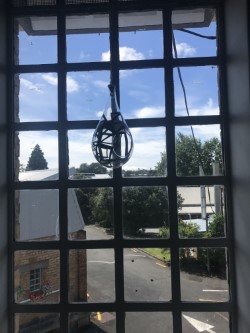
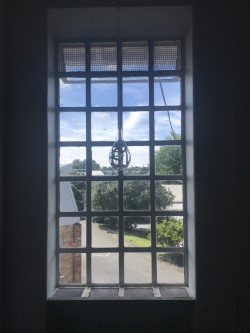
After clearing and finishing all my hanging works, I was observing the room and thought I would move my ‘Shuffle’ hanging piece in to the window. The light play bounces beautifully and gives a finished look to the end of my section of the studio. The globe started spinning and the patterns were bouncing on the walls. This was perfect. This is what my finished piece looked like: